AgriERP Recognized & Mentioned On Forbes Magazine
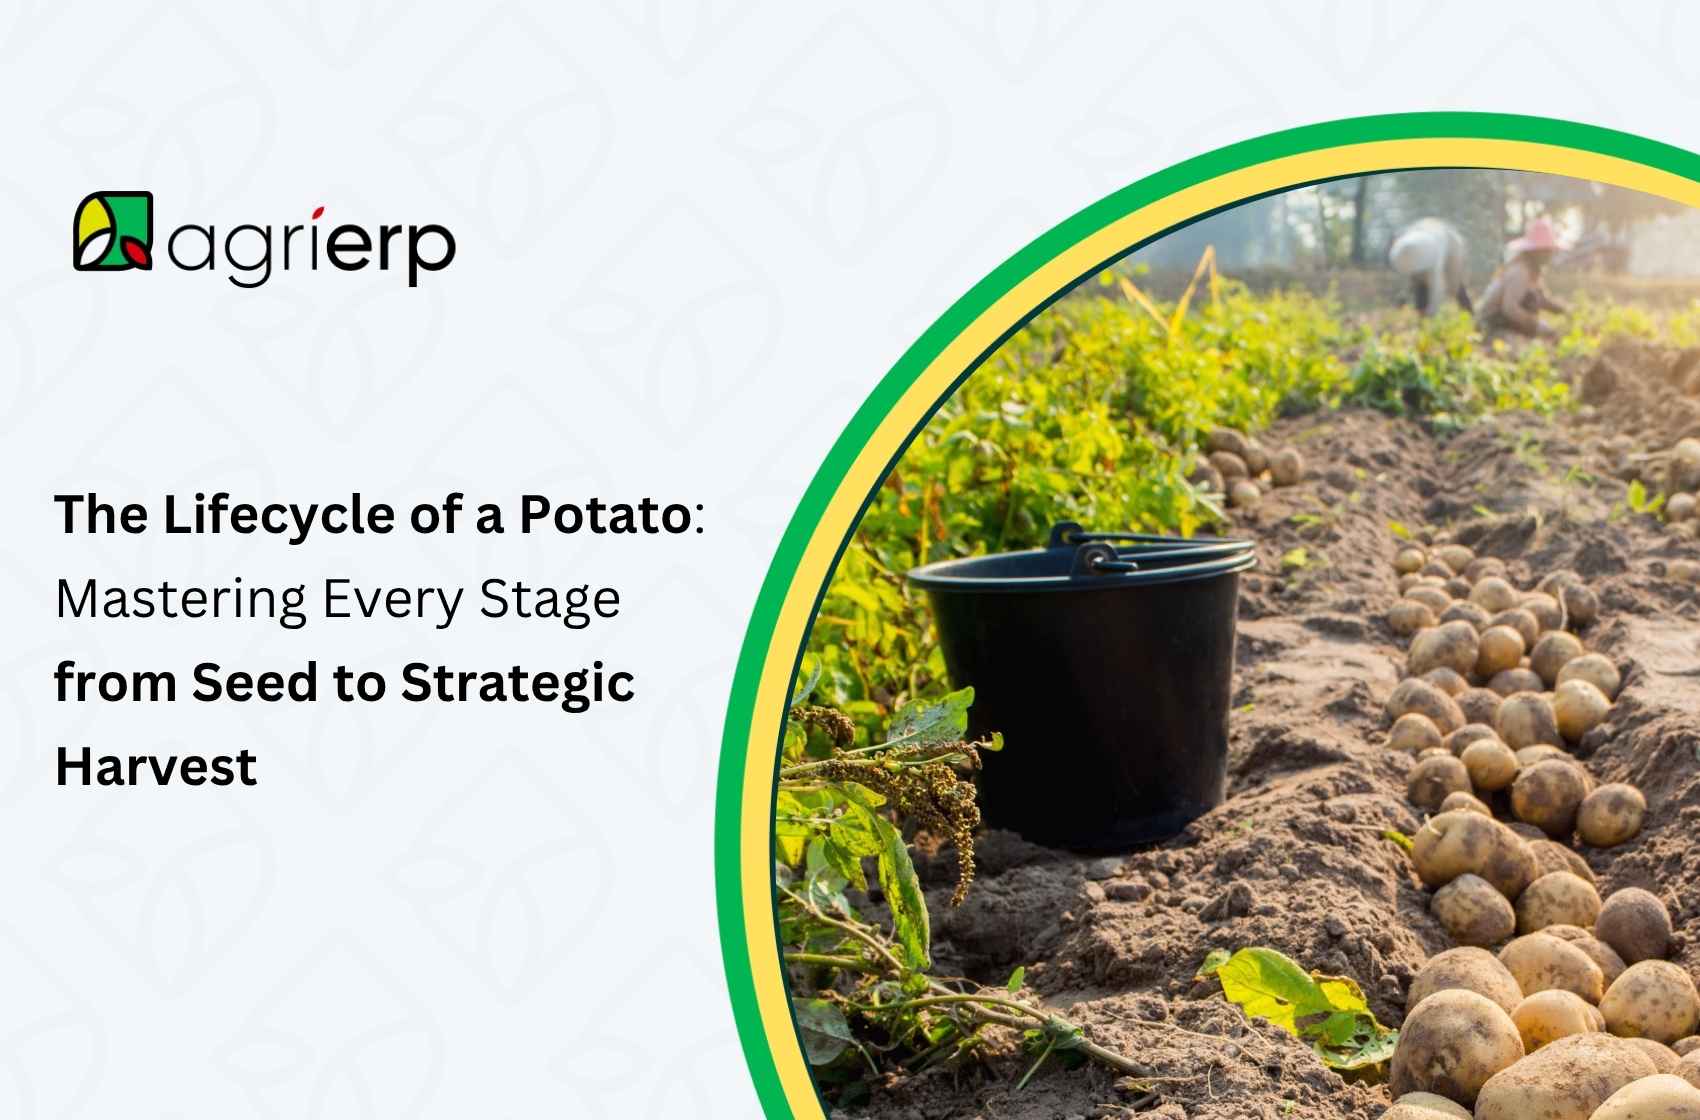
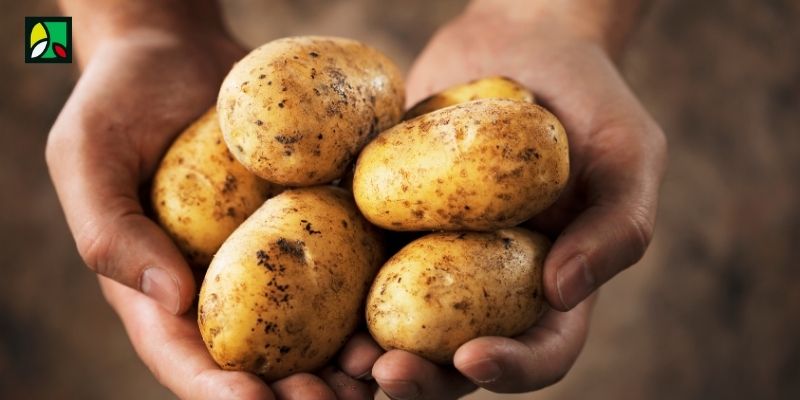
Have you ever wondered how each potato in your fields started as a tiny seed tuber and grew into a bountiful crop? Potatoes rank as the world’s third-most important food crop, with roughly 380 million tonnes produced globally each year.
As the person running a large farm, understanding the life cycle of a potato is crucial. Each phase, from planting and sprouting to tuber development and harvest, each stage demands different care.
In this blog, you’ll learn about the life cycle of a potato plant step by step. Along the way, we’ll explain how modern tools can help you manage each stage on your farm, so you get the highest yield and quality from seed potatoes to harvest.
What is the Life Cycle of a Potato?
The potato’s life cycle begins not with a botanical seed, but with a seed tuber. After harvest, mature tubers enter dormancy (a resting phase) for weeks. When conditions are right (warmed soil, longer days), the eyes on these tubers sprout, breaking dormancy.
Shoots emerge above ground and develop leaves and stems, this is the vegetative growth stage. Underground, stolons grow from the plant’s base; their tips swell into new tubers (the potatoes we eat). Eventually, the plant matures: foliage yellows and dies back, signaling that tubers have reached full size and are ready for harvest. In summary, the key stages are:
- Dormant Seed Tubers: harvested potatoes resting before planting.
- Sprouting/Germination: shoots emerge from seed potatoes.
- Vegetative Growth: vines, stems, and leaves expand above ground.
- Tuber Formation (Bulking): underground stolons swell into potatoes.
- Maturation & Harvest: foliage dies back; tubers reach maturity.
Understanding each phase of the potato plant’s life cycle lets you time irrigation, fertilization, and harvest perfectly. This is a journey that typically spans 60 to 120 days, depending on variety and environmental conditions. This timeline becomes your operational framework, dictating everything from resource allocation to harvest scheduling.
Stage 1: Preparing Your Seed Potatoes and Fields
Success begins before you plant. First, choose the right seed potatoes (certified, disease-free tubers) and variety for your climate and market demand. Prepare your soil well: potatoes prefer loose, fertile, well-drained soil.
Test and adjust pH – optimal potato production occurs at a soil pH around 5.5–6.8. Amend as needed with lime or sulfur. Incorporate 8–12 inches of compost or balanced fertilizer and till to improve drainage and aeration. Good soil preparation ensures the tuber’s eyes can sprout easily and roots can establish.
During planting, place seed tubers (sprouted or not) 3–4 inches deep, eyes facing up, spacing them about 12 inches apart in rows 30–36 inches apart. Proper planting sets the stage for a uniform crop.
Using a planter with GPS or an ERP system can help you create precise planting schedules and records across your acreage. With fields and seed ready, you’re set to begin the growing cycle.
Stage 2: Vegetative Growth: Nurturing Young Potato Plants
Once planted, your potatoes enter the vegetative stage. In 2–4 weeks, the eyes break dormancy and sprouts emerge above ground. Ensure the soil stays evenly moist (about 1–2 inches of water per week); inconsistent moisture will reduce yield. A modern approach is to use soil sensors or irrigation tools to automate watering based on actual soil moisture.
Key tasks during vegetative growth include:
- Irrigation Management: Provide consistent moisture without waterlogging. Automated irrigation schedules (tied to soil moisture sensors) can help deliver water precisely when your crop needs it.
- Nutrient Management: Support vigorous growth with balanced fertilization. Early-season nitrogen feeds foliage; later adjust feeding to favor tuber development. Over-fertilizing late can lead to foliage growth at the expense of tubers.
- Pest and Weed Control: Monitor regularly. Potatoes are vulnerable to Colorado potato beetles, aphids, and blight. Implement integrated pest management (crop rotation, resistant varieties, timely sprays) to protect your crop.
Also, remember that average global potato yields are only about 21 t/ha. With attentive care, you can easily surpass this benchmark. Investing effort in canopy health now means more sunlight caught, more energy for tubers, and ultimately better yields.
Stage 3: Tuber Bulking: The Heart of Potato Growth
As your potatoes grow, they begin forming tubers underground. Around 6–10 weeks after planting, stolons (underground shoots) emerge from the stem base, and their tips swell into new potatoes. This bulking stage determines your harvest size, so it’s critical to manage it carefully.
When tubers start to form, hill soil up around the plants. Hilling covers developing tubers, preventing greening, and encouraging longer stolon growth. Continue providing steady moisture and balanced nutrients.
At this point, moderate potassium helps enlarge tubers. Avoid stressing the crop with drought or heat spikes. During bulking, stay vigilant for late-season blight or other diseases, and ensure vines remain healthy until maturity.
Your tuber development strategy must address multiple variables:
- Water Management: Consistent moisture prevents common disorders and ensures uniform sizing
- Temperature Control: Excessive heat reduces tuber set and quality
- Nutrient Balance: Potassium availability directly impacts tuber size and storage quality
- Plant Density: Proper spacing optimizes resource allocation per plant
Stage 4: Harvesting and Post-Harvest Management
The final phase is harvest and post-harvest handling. Potatoes are ready when the vines yellow and die back, an indication that tubers have reached full size and skins have set. Do not wait too long, or tubers can be lost to disease or rot. Begin harvesting in dry weather if possible. Use gentle digging equipment or hand tools to lift tubers carefully; bruising can make potatoes spoil faster.
After digging, cure and store your potatoes properly. As soon as possible, move them to cool, dark, humid storage, about 45–50°F with 90–95% relative humidity. This environment keeps tubers from sprouting and slows decay.
Inspect storage piles regularly: remove any damaged or soft potatoes to prevent the spread of rot. By treating harvest and storage as carefully as the growing stages, you preserve quality and extend shelf life, maximizing profit when you sell.
AgriERP and the Potato Life Cycle: Smart Farm Management Solution
Managing a large potato farm involves juggling many tasks across all these stages. That’s where farm ERP software like AgriERP comes in. AgriERP links each phase of the potato’s life cycle on a single platform.
For example, it can automate irrigation scheduling based on real-time soil moisture data and track fertilizer/pesticide use against crop health. In practice, this means you get instant visibility into how every field is performing. You see which rows are ahead in growth, which need attention, and exactly when the crop will be ready to harvest.
Key benefits of using AgriERP on your potato farm include:
- Data-Driven Crop Monitoring: Integrate sensors and satellite data to oversee plant health across all fields. You can view soil conditions and early warnings of stress in real time.
- Resource Optimization: Automated schedules for irrigation, fertilization, and labor reduce guesswork. The system helps you apply just the right amount of water and nutrients, minimizing waste and cost.
- Traceability and Inventory: From seed potatoes to storage bins, AgriERP tracks every lot. You can manage planting records, inventory of inputs, and harvested yield in one place, essential for large operations.
By tying farming data to financials and market info, AgriERP lets you make strategic decisions. For instance, it can forecast the best harvest window and even suggest contract pricing based on projected yields. In short, AgriERP turns raw field data into actionable intelligence, helping you steer each stage of the potato life cycle toward maximum efficiency and profit.
Conclusion
Mastering the potato’s life cycle on your farm means optimizing every stage, from planting quality seed tubers and nurturing young vines to managing tuber bulking and harvest. Each phase has unique needs for soil, water, nutrients, and timing.
By understanding this cycle, you ensure your potatoes are healthy and your yields are high. Modern farm management solution, AgriERP brings it all together: providing real-time insights, automating schedules, and keeping precise records from seed to sale.
Ready to take your potato farming to the next level? Visit AgriERP to learn how AgriERP’s tailored potato ERP can streamline your operations. Sign up for a free demo and discover how smart farm management helps your potatoes grow more efficiently and profitably.